Adding a Markdown editor to Laravel
Use a Markdown editor for a much better content creation process, and the ability to migrate content to other systems with ease
May 2021
- Why markdown?
- Starting point
- Installation and configuration
- Accessing the markdown editor content
- Converting markdown to HTML
Why markdown?
Markdown is a lightweight markup language for creating formatted text using a plain-text editor... Markdown is widely used in blogging, in§stant messaging, online forums, collaborative software, documentation pages, and readme files. (from Wikipedia)
Another advantage to markdown is that it is system-agnostic, meaning that if you ever rebuilt a site you should be able to transfer your markdown content built up over the years without any issues.
In this article, I will go through how to implement a markdown editor into Laravel for post/article creation.
Starting point
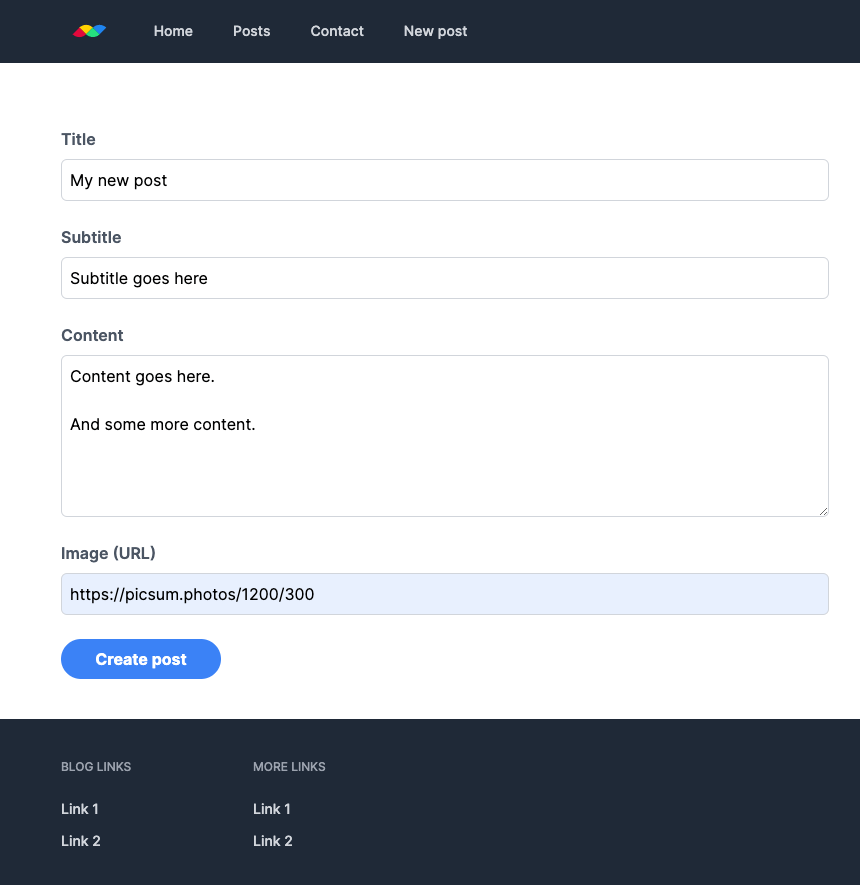
I have created a basic blog using Laravel and Tailwind CSS. Here is the form to create a new post:
Using the textarea HTML field can feel cumbersome, and can cause issues when HTML is added or as the content grows.
Let's replace it with a much better markdown editor.
Installation and configuration
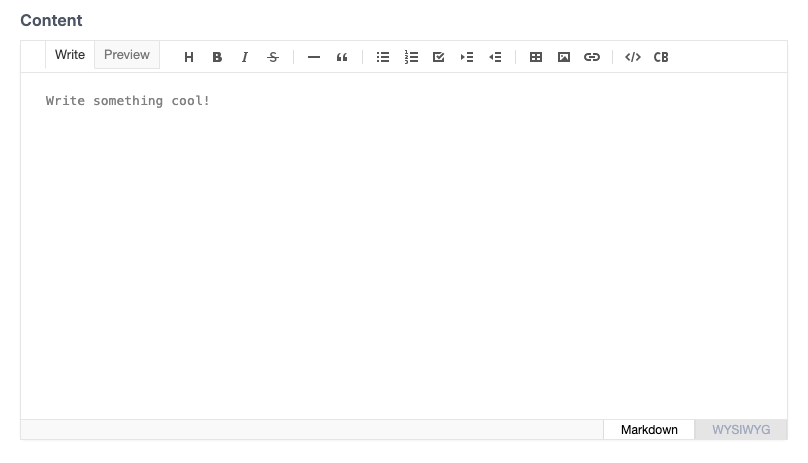
I have used multiple markdown editors, and the best one I found was Toast UI Editor. It offers all the features you would expect, including a toolbar to insert markdown syntax and a HTML preview mode.
Run this to install it:
npm install --save @toast-ui/editorReplace the textarea input with this div. The ID will be used to replace the div with the markdown editor:
<!-- resources/views/posts/create.blade.php -->

<div class="flex flex-col space-y-2">
    <label for="editor" class="text-gray-600 font-semibold">Content</label>
    <div id="editor" class="mt-1 block w-full rounded-md border-gray-300 shadow-sm"><div>
</div>
Now that the div is in place, we will need to add some JavaScript to import and instantiate the editor:
// resources/js/app.js

import Editor from '@toast-ui/editor'
import 'codemirror/lib/codemirror.css';
import '@toast-ui/editor/dist/toastui-editor.css';

const editor = new Editor({
  el: document.querySelector('#editor'),
  height: '400px'
  initialEditType: 'markdown',
  placeholder: 'Write something cool!',
})
Run this to compile the JS:
npm run dev # or 'npm run watch' to listen for file changes and compile automaticallyThis will provide us with a nice markdown editor:
There are many examples in the official docs if you need different functionality for your editor.
Accessing the markdown editor content
As the editor is rendered into a div and not an input with a 'name' attribute, the content will not be sent to the server.
Using JS we can get the markdown content from the editor and add it to a hidden form element. Add this hidden input to the form:
<!-- resources/views/posts/create.blade.php -->

<input type="hidden" name="content" id="content">
And add this to the JS file:
// resources/js/app.js

document.querySelector('#createPostForm').addEventListener('submit', e => {
  e.preventDefault();
  document.querySelector('#content').value = editor.getMarkdown();
  e.target.submit();
});
And once again run (if not listening for JS changes):
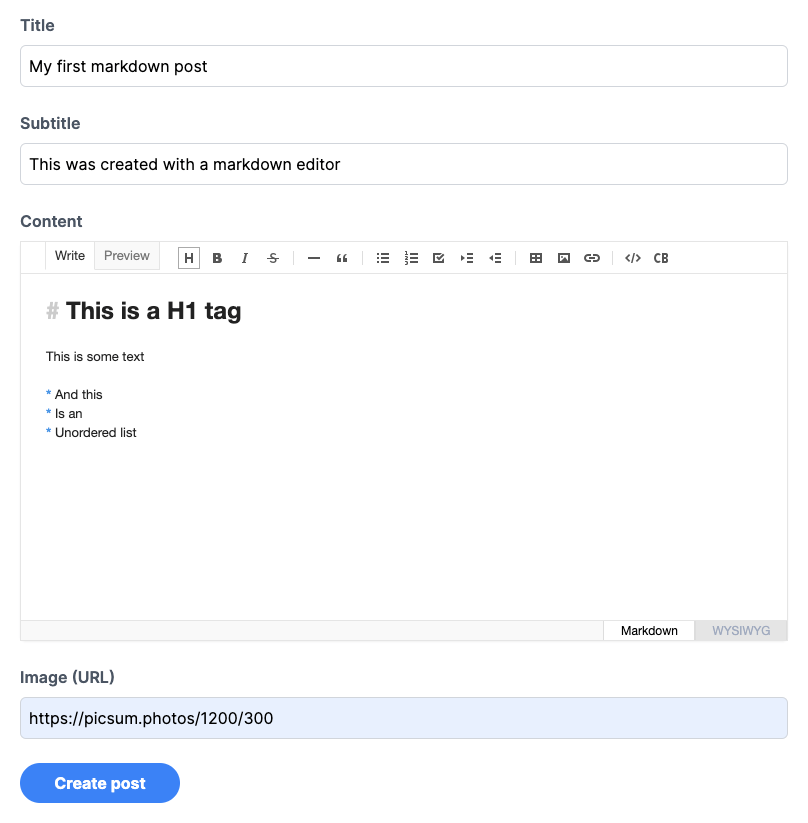
npm run devContent can then be added and saved:
Converting markdown to HTML
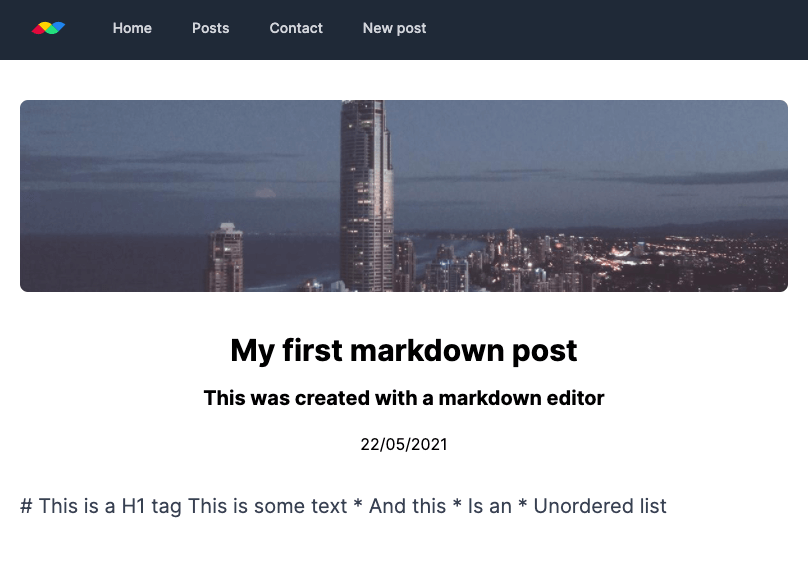
The post has been created, however the markdown content we added is being displayed exactly how we typed it:
In January 2021 Laravel was updated to include a helper which can convert markdown into HTML. The docs for this helper are here.
All that is left to do is convert the markdown to HTML and display it. It needed to be unescaped as it can contain HTML tags.
// resources/views/posts/show.blade.php

{!! \Illuminate\Support\Str::markdown($post->content) !!}
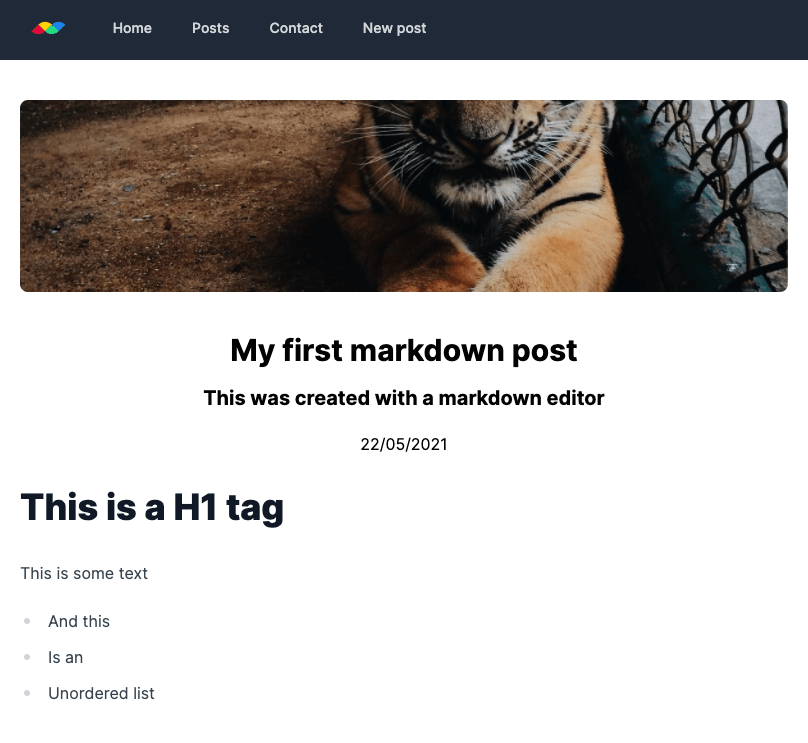
This will now display correctly:
Please note it is extremely important to ensure you trust and sanitize any input being entered to your website when displaying it unescaped to prevent malicious activity
The Github repository linked below also has edit/update functionality. I have not covered it in this article as it is a similar process to the creation of posts.
